Few sights in barbecue earn more reverence than the perfect smoke ring, a deep, cherry-red halo that runs just beneath the surface of a properly smoked brisket. For judges, pitmasters, and backyard scientists alike, the smoke ring isn’t just a sign of great technique, it’s a mark of respect for chemistry, patience, and precision.
Creating that ring isn’t luck or legend. It’s science. And with the right understanding of meat chemistry, combustion physics, and hydration control, you can engineer an award-winning smoke ring every time, even on a simple Weber kettle.
Let’s break it down step by step, from meat prep to final slice, and learn what really makes that red ring appear.
What Is a Smoke Ring and Why It Matters
At its core, the smoke ring is a reaction between nitrogen oxides (NOx)-mainly nitric oxide (NO) and the myoglobin in meat. Myoglobin is the iron-bearing pigment that gives red meat its color. When smoke gases contact raw meat before it fully cooks, NO binds to the myoglobin, creating a stable pinkish-red pigment called nitrosylhemochrome.
That compound is chemically similar to the color in cured meats like ham or corned beef, but in barbecue it’s created naturally through wood combustion, not curing salts.
Once the internal meat temperature passes about 140°F (60°C), myoglobin denatures and loses its ability to bind with NO. That’s why the ring only forms in the early stages of smoking, the window closes fast.
Understanding this timing is the foundation of smoke ring mastery.

Choosing the Right Meat for a Deeper Smoke Ring
Different meats carry different levels of myoglobin. Beef sits at the top of the list, with 1-2 percent myoglobin by weight, followed by pork, and then chicken at a distant third. More myoglobin equals more potential pigment for the ring.
For the deepest color and flavor development:
- Select a fresh brisket or beef rib rather than one that’s been aged too long. Wet aging beyond 30 days slightly reduces active myoglobin.
- Choose Choice or Prime grades for a balance of moisture retention and surface exposure.
- When possible, source briskets that have not been mechanically tenderized. Punctures leak myoglobin and create patchy smoke rings.
For poultry, the same rules apply, though expect a paler ring. You’re fighting against naturally low pigment levels.
Meat Preparation: Salt, Surface, and Science
Salt plays a powerful role in smoke ring formation. It increases the solubility of myoglobin and allows gases to diffuse deeper into the surface. A properly salted surface acts like a sponge for nitric oxide.
Here’s the science-driven prep plan:
Step 1: Trim for Exposure
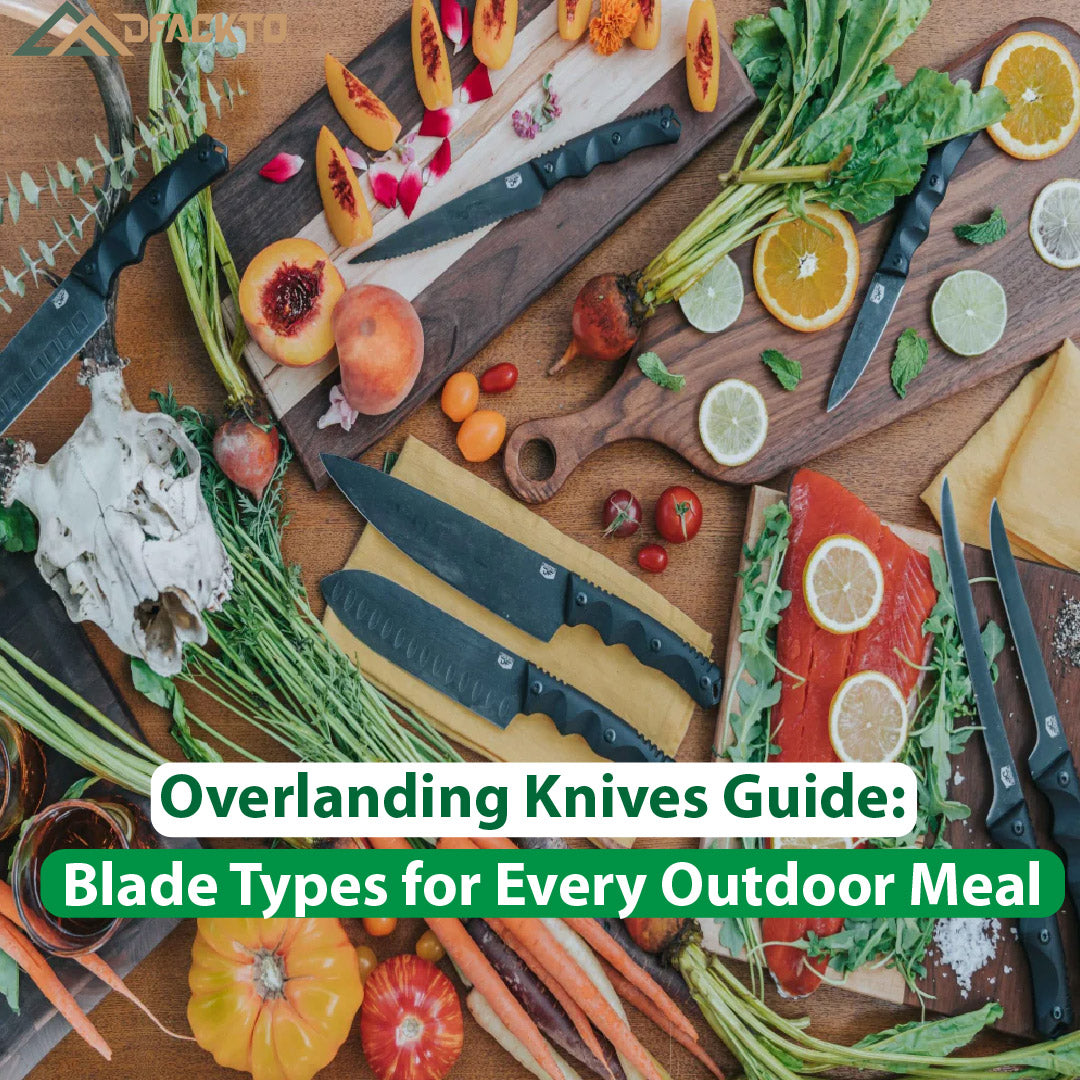
Fat is the enemy of the smoke ring because NO can’t penetrate it. Trim your brisket or ribs so that roughly 80 percent of the meat surface is exposed muscle. Use a sharp, fine-control knife-precision here is critical. This is where the DFACKTO Hybrid Boning/Fillet Knife earns its keep. The narrow, flexible blade allows you to glide cleanly along the fat cap and silver skin without gouging into the muscle. It’s surgical-level control designed for pitmasters who treat trimming as the first act of craftsmanship. The fine-tuned edge geometry makes separating connective tissue effortless, giving you a smooth, even surface ready to absorb that nitric oxide-rich smoke.
When you start with a clean, precise trim, you set the stage for deeper smoke penetration, more uniform bark formation, and a bold, photogenic smoke ring that looks as good as it tastes.

Step 2: Dry Brine or Wet Brine
For most cuts, a dry brine 12-24 hours in advance works wonders:
- Sprinkle kosher salt (1.5-2% of meat weight)
- Rest uncovered in the refrigerator
The salt dissolves into surface moisture and begins diffusing through the meat, seasoning deeply and preparing the proteins for pigment binding.
Alternatively, for maximum color development, a light wet brine can help maintain hydration:
- 1 Gallon cold water
- ½ Cup kosher salt
- 2 Tablespoons sugar
- 2 Teaspoons celery powder (a natural nitrate source that converts to NO)
This natural additive approach amplifies the ring while remaining fully food-safe and “clean label.”
Step 3: Surface pH
Slightly acidic conditions stabilize the red pigment. Keep your surface pH between 5.5 and 6.0 by using an acidic spritz (apple cider vinegar diluted 1:4 with water). Below pH 5, however, the acid begins denaturing proteins prematurely-balance is key.
Setting Up for Smoke Ring Success on the Charcoal Path
You don’t need a $3,000 offset smoker or Big Green Egg to create a show-stopping ring. A standard Weber kettle, used correctly, can deliver the perfect mix of heat, oxygen, and reactive gases.
The Charcoal Base
Start with lump charcoal, not briquettes. Lump burns cleaner and hotter, producing more active nitric oxide and carbon monoxide-the key gases that create the ring.
Light ¾ of a chimney and pour it onto one side of the kettle to form a two-zone fire. Place a water pan on the opposite side for indirect cooking.
Airflow Control
- Bottom vent: ¼ open to encourage partial combustion (which generates NO)
- Top vent: fully open to maintain draw and prevent sooty buildup
You want that clean blue smoke, not thick white clouds. Blue smoke signals the sweet spot of lignin combustion-where the magic gases form without choking the meat in soot.
Wood Selection
Wood chemistry matters. Hardwood species high in lignin release more NO when burned. Choose:
- Oak for balance
- Hickory for intensity
- Cherry for deeper red hues from its phenolic compounds
Add 2-3 chunks at a time. Don’t soak them; wet wood drops combustion temperature and limits NO formation.
The Combustion Chemistry Behind a Deeper Smoke Ring
Inside your kettle, two simultaneous reactions occur:
- Combustion of wood and charcoal, creating CO and NO.
- Diffusion of those gases into the moist meat surface.
Nitric oxide is the main player. It forms between 550-650°F in the combustion zone and rides the airflow to your meat.
If you run the fire too hot, NO oxidizes into inert nitrogen dioxide before reaching the brisket. Too cool, and you get unburned soot instead of reactive gases. That’s why maintaining a steady 225-250°F dome temperature with robust airflow is ideal, the perfect middle ground.
The Critical Window: The First 90 Minutes of Smoke
The first 90 minutes of smoking is when your smoke ring is decided. After that, internal temperature rises past 140°F, and myoglobin locks out.
Your goal: keep the meat surface moist and cool enough to allow gas diffusion before the proteins set.
Hydration and Spritzing
Spritz every 30–45 minutes with a 50:50 mix of water and apple juice or a light beer and vinegar blend. The moisture:
- Prevents the bark from sealing too early
- Enhances gas solubility
- Stabilizes myoglobin molecules
Remember: the red ring doesn’t form after the bark sets; it forms beneath it. Keep that surface humid and welcoming to smoke gases.
Temperature, Humidity, and Gas Diffusion Physics
Think of your smoker as a low-temperature chemical reactor. The interplay between temperature, humidity, and oxygen determines how efficiently NO can diffuse into the meat.
Temperature
Keep the dome at 225-250°F. The radiant heat from the coal zone should never exceed 650°F, where NO generation peaks but carbonization risks increase.
Humidity
Add boiling water to your drip pan as needed to maintain roughly 60-70% relative humidity inside the kettle. This prevents the meat surface from drying too quickly and helps transfer NO molecules through the moist film on the surface.
Oxygen
A partially restricted lower vent ensures incomplete combustion, exactly what you want for NO formation. Too much oxygen burns the gases off before they can react with myoglobin.
It’s a balancing act between chemistry and airflow engineering.
When to Wrap: Locking in the Smoke Ring
Once your brisket’s internal temperature hits 140°F, the smoke ring chemistry is finished. That’s the moment to decide how to manage the next phase.
If you’re chasing a perfect deep ring, consider wrapping in butcher paper (not foil) after 2-3 hours:
- Paper allows the meat to breathe and retain humidity
- Foil traps steam and softens the bark
- The paper wrap locks in the color while the internal collagen breakdown continues toward tenderness
From here, finish the cook until internal temperature reaches 195-203°F for brisket or 190-200°F for beef ribs. For chicken, aim for 165°F breast, 175°F thigh.
Resting: The Unsung Hero of Smoke Ring Development
Resting does more than relax the meat-it allows pigment stabilization and color enhancement. After you pull the brisket from the grill, hold it in a warm, humid environment (around 150°F) for 1-2 hours.
During this time, internal moisture redistributes and the nitrosylhemochrome pigment finishes bonding. Many pitmasters notice the ring appears slightly deeper after a proper rest.
Skip this stage and you risk losing both juiciness and visual appeal.

Advanced Methods for a Deeper Red Smoke Ring
Once you’ve mastered the basics, there are advanced scientific tweaks that can take your results from great to jaw-dropping.
1. Natural Nitrate Enhancement
A small dusting of celery juice powder (0.2% of meat weight) before smoking can increase NO availability naturally. Over a 12-24-hour rest, natural bacterial enzymes convert nitrates to NO. It’s a subtle, competition-legal enhancement that intensifies the ring without artificial curing salts.
2. Sodium Erythorbate Boost
Sodium erythorbate, often used in curing, accelerates the reaction between NO and myoglobin. A light application in a brine solution (¼ teaspoon per gallon of water) creates a faster, more stable pigment reaction. It’s fully food-safe and used in commercial barbecue operations.
3. Controlled “Pulsed” Combustion
You can periodically raise the temperature to 275°F for 5-10 minutes every hour. This “pulses” oxygen into the coal bed and regenerates fresh NO. It’s an advanced airflow trick that sustains reactive gas production without thickening the smoke.
4. Water Pan Chemistry
Try adding a few drops of vinegar or beer to your water pan. The slight acidity in the vapor environment supports pigment stability at the surface, especially during long cooks exceeding 8 hours.
Common Myths About Smoke Rings
The barbecue world is full of smoke ring folklore. Let’s separate science from superstition.
Myth 1: You need heavy smoke for a deep ring.
False. White billowing smoke is mostly water vapor and unburned hydrocarbons. What you need is clean, thin blue smoke rich in nitric oxide-not density.
Myth 2: Soaking wood chips makes better smoke.
Also false. Wet wood delays combustion and lowers NO production. Dry wood chunks are best.
Myth 3: The smoke ring equals flavor.
Not necessarily. The ring is visual; flavor comes from the Maillard reactions in the bark and rendered fat. A deep ring is a mark of technique, not taste alone.
Myth 4: You can’t make a good ring on cheap kettle grills.
Completely false. A kettle, properly tuned, generates all the NO you need. The physics of the ring doesn’t care about price tags-it cares about combustion chemistry.
Hydration and Bark Formation Balance
Maintaining a moist environment for the first two hours helps with color, but at some point, you need to develop texture. Once the ring has formed, reduce spritzing to encourage a crusty, mahogany bark.
The key is to transition from diffusion to dehydration-early moisture invites gases in; later heat locks color out and crust in.
Think of it as a baton pass between chemistry and physics.

Visual Optimization: Making That Ring Pop
A perfectly formed smoke ring can lose its visual punch if sliced or served incorrectly. To make that red edge stand out:
- Slice across the grain using long, clean strokes. This is not the job for a short or serrated knife. Use a DFACKTO 12" Brisket Slicing Knife - the long, razor-straight edge glides through tender smoked meat in one continuous motion, keeping the fibers intact and the smoke ring pristine.
- Keep your slices consistent. Aim for ¼ inch slices for brisket, slightly thicker for ribs. Too thin and you lose the moisture contrast; too thick and you blur the red gradient that makes a smoke ring pop.
- Allow slices to rest for five minutes before plating-oxygen exposure slightly deepens perceived redness.
- Wipe your knife between cuts. Use a sharp, single-stroke cut rather than sawing motions that bruise the pigment boundary.
A great smoke ring deserves a great presentation. The right slice, made with the right tool, turns your brisket from “good barbecue” into award-winning craftsmanship.
The DFACKTO Edge: Precision in Every Slice
All the chemistry in the world means nothing if you hack through your hard-earned brisket with a dull blade. The moment of truth-the slice-is when science meets craftsmanship.
A properly forged knife makes all the difference. DFACKTO’s line of tactical chef’s knives is built exactly for this kind of work. The ergonomic proprietary, slip-resistant finger-hold handle provides stability even when your hands are slick with rendered fat. The steel geometry ensures clean, uninterrupted passes through dense muscle and bark, preserving the crisp definition of the smoke ring.
When you’ve spent 12 hours balancing airflow, hydration, and chemistry, your knife should be as precise as your process. A single draw of a DFACKTO 12-inch slicing knife can reveal that deep crimson halo in perfect contrast against the dark, barked exterior-proof that you’ve mastered not just cooking, but control.
DFACKTO knives aren’t novelty tools; they’re engineered instruments of performance. The same blades trusted in combat kitchens and field operations are equally at home carving an award-winning brisket. Because precision is precision, whether on the battlefield or the barbecue pit.
Troubleshooting: Why Your Smoke Ring Might Be Pale
If your ring looks weak or nonexistent, run through this checklist:
- Surface dried too quickly.
You likely lacked humidity early in the cook. Keep that spritz handy. - Too much fat cap.
NO cannot penetrate fat-trim to expose the muscle. - Fire too clean or too hot.
Over-venting the kettle burns NO before it reacts with the meat. Try partially closing the lower vent to increase reactive gas production. - Late salt application.
Salting after the cook does nothing for the ring. Brine or dry-brine well in advance. - Over-aged meat.
Old meat loses myoglobin activity. Fresh is better. - Cooked too quickly.
A fast temperature climb passes 140°F before NO can diffuse deeply. Maintain 225-250°F for at least the first 90 minutes.
With these corrections, your next brisket should show a vivid, even ring from edge to edge.
Key Takeaways: Building Your Award-Winning Smoke Ring
|
Principle |
Target Range or Technique |
Effect |
|
Surface Moisture |
High during first 2 hours |
Enhances NO diffusion |
|
Internal Temp Window |
Below 140°F for 90 minutes |
Allows pigment bonding |
|
Smoke Type |
Thin, blue smoke |
High in NO, low in soot |
|
Combustion Zone Temp |
550-650°F |
Optimal NO formation |
|
Humidity |
60-70% RH |
Prevents crust sealing early |
|
Salt Level |
1.5-2% |
Boosts myoglobin solubility |
|
Rest Period |
1-2 hours warm, humid |
Stabilizes pigment and texture |
Follow these parameters and you’ll consistently produce a ring that stands out even among competition briskets.
The Final Slice: Where Science Meets Craft
Barbecue isn’t just cooking-it’s chemistry under control. It’s the transformation of muscle and smoke into flavor and color. An award-winning brisket isn’t born from gadgets or gimmicks; it’s earned through understanding, timing, and patience.
You’ve balanced nitrogen oxides, managed humidity, and nursed the fire for hours. The result: a slice of meat bordered by a perfect, crimson halo that tells every judge and guest exactly how much precision went into the cook.
That’s when you reach for your blade. The moment you make the cut should feel as deliberate as everything that came before it. A DFACKTO knife doesn’t just slice-it honors the science and craft behind the cook.
Because in the end, that smoke ring is more than pigment-it’s proof of mastery.
DFACKTO: Built for Precision. Forged for Performance. Perfect for the Slice.